
hello everyone! Long time no post! Well thankfully I've been able to sort out my computer situation and I'm back better than ever! Unfortunately for the next few weeks I'll be very quiet due to exams but here's just a quick post on this art project I've done recently. I was inspired by KickThePJ's video Rainbow Magical Adventure and decided to do one just myself to relieve some stress due to my workload.
Jump the cut to see my very own Rainbow (more rain than erm, bow) adventure! :)
Firstly, can I just mention Australia needs to get their act together on the crayon industry! I had to search far and wide for a pack of Crayolas, and I bought so many other ones just in case I couldn't find them.

If you're out for a rainbow then its easy, but I wanted to do something more complex and incorporate a scene into mine using the crayons as rain. I bought several packs and different brands to get a variety of blue/white/grey/black/green shades. I recommend sorting out a theme and getting a canvas before buying the crayons then arranging them in an order that fits the canvas like this:

Crayola crayons melt the best! I've personally tested several brands and some suck, the oils and colours split and it's a rather grotesque site, especially for the brandless cheap ones, while some are VERY hard to melt. I would just stick to Crayola because they melt like a dream and the colours are lovely and pigmented.
Next step peeling! This is by far the most time consuming step. I recommend getting out a good drama and playing it infront of you, and exerting a lot of patience. Gentle hands! Or you can snap them.
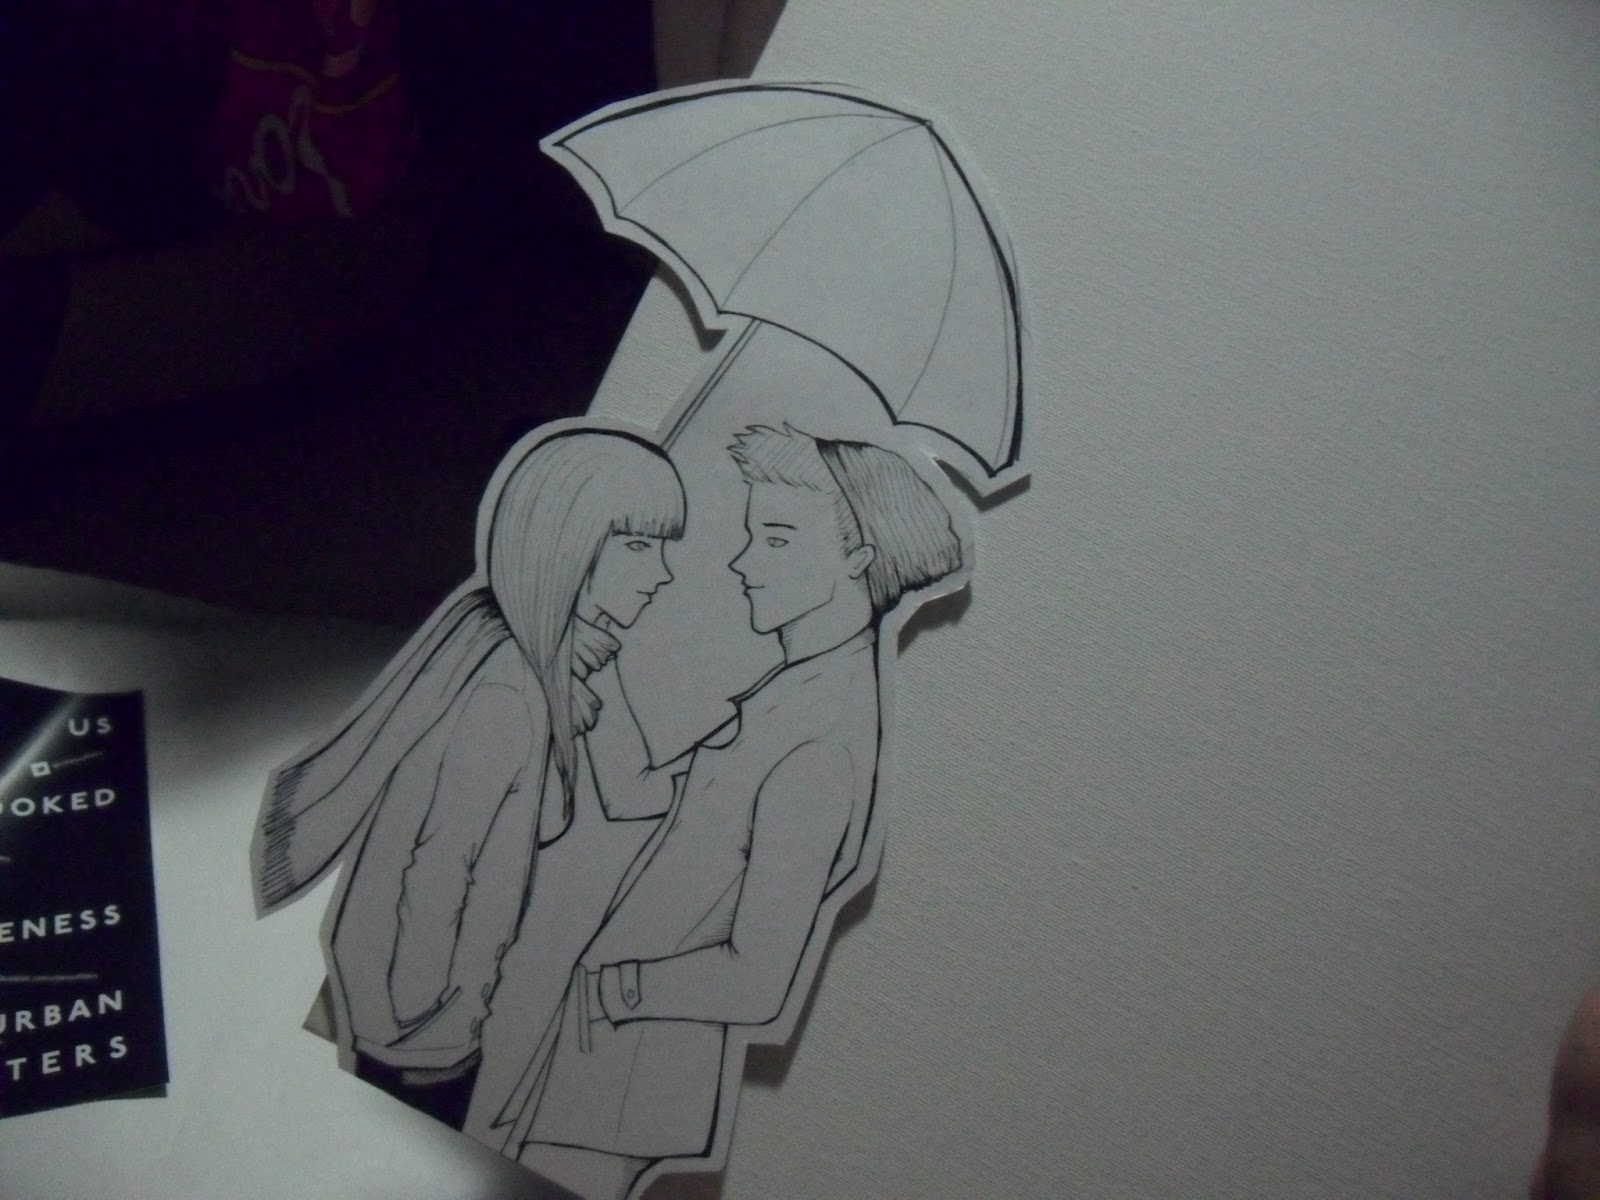
I confess that I cheated by doing the crayons first then moving onto my scene second. Draw your scenario onto some thick, decent quality card. You can cut right along the edge but I've given it a border because I personally prefer it :)


How hot glue gun the crayons on one by one by melting a strip of glue and securing onto the canvas. Make sure you put enough glue or it can get messy when the crayon melts but it doesn't adhere to the canvas. After they're dry gently wiggle each one around and reglue if they're loose.


put something below your work to set it on an angle. I want to closely control how it runs so I've put it on a low angle. You can also direct your board (like I have) if you want it to melt diagonally across your canvas. If you want it to look intentionally messy and free, set it on a higher angle.

Now start heating this baby up! I used a typical hairdryer and I find the nozzle tip really helps concentrate the heat and creates a more concentrate force of air so that it melts easier in the direction you want. Start heating one area up at a time and if you don't want it to run down all the way, melt it then take the heat off and let gravity do it's work. :) If you've got a particularly long canvas, direct the crayon flow then let it be. Continue this in segments.

Here's the finished work! It was a good experiment and I'll know what to improve on next time. The cardboard fail I mentioned before resulted in the crayons oils absorbing into my scene. Because it's just the umbrella I'll easily fix it up later! If you choose to do one, they are super fun!


0 comments:
Post a Comment